

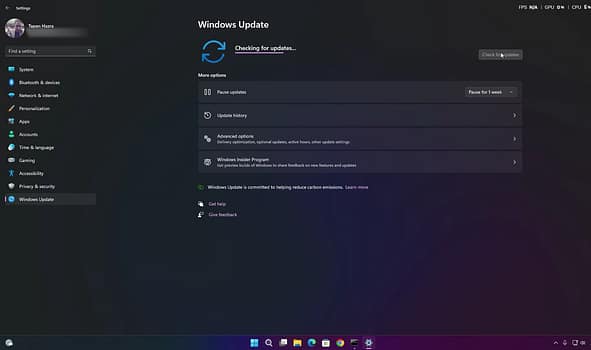
A Windows 11 update sitting at 0% is frustrating because the system gives you almost no indication of what’s actually wrong. Is Windows Update broken? Is a background service stuck? Is the download cache corrupted?
Before reaching for a Windows reinstall, there is a straightforward recovery sequence worth trying: run Microsoft’s built-in troubleshooter, stop the Windows Update services, clear their temporary download data, restart the services and try the update again.
The important part is the order. Deleting Windows Update files while the relevant services are still running can leave files locked and turn a simple cleanup into another problem.
Start with Windows’ own troubleshooter
Open Settings and make sure you’re in the System section.
Then go to:
System → Troubleshoot → Other troubleshooters
Find Windows Update and click Run.
Windows will check for common problems affecting the update mechanism and may automatically apply some corrections.
If the troubleshooter recommends restarting the PC, do it before moving on.
Caption: Run the built-in Windows Update troubleshooter before manually changing system files.

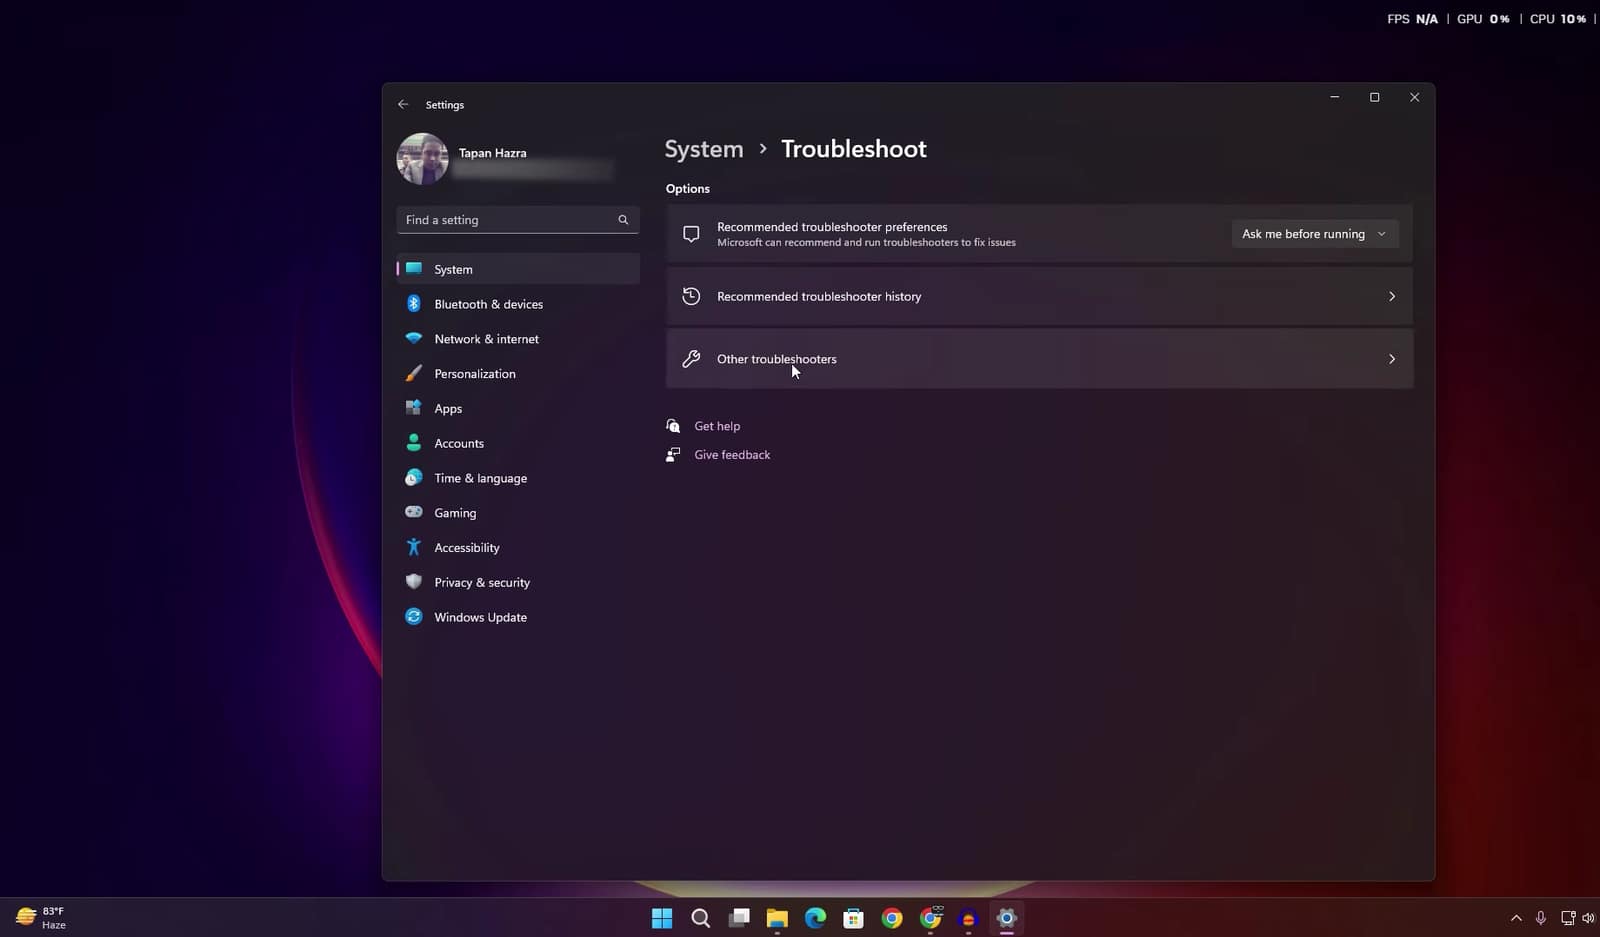
This is the least invasive step in the procedure, so there’s little reason to start with Command Prompt instead.

If 0% doesn’t budge, stop the update services
If Windows Update remains stuck after restarting, the next step is more hands-on.
Search for CMD from the Start menu, right-click Command Prompt and select Run as administrator. Approve the User Account Control prompt.
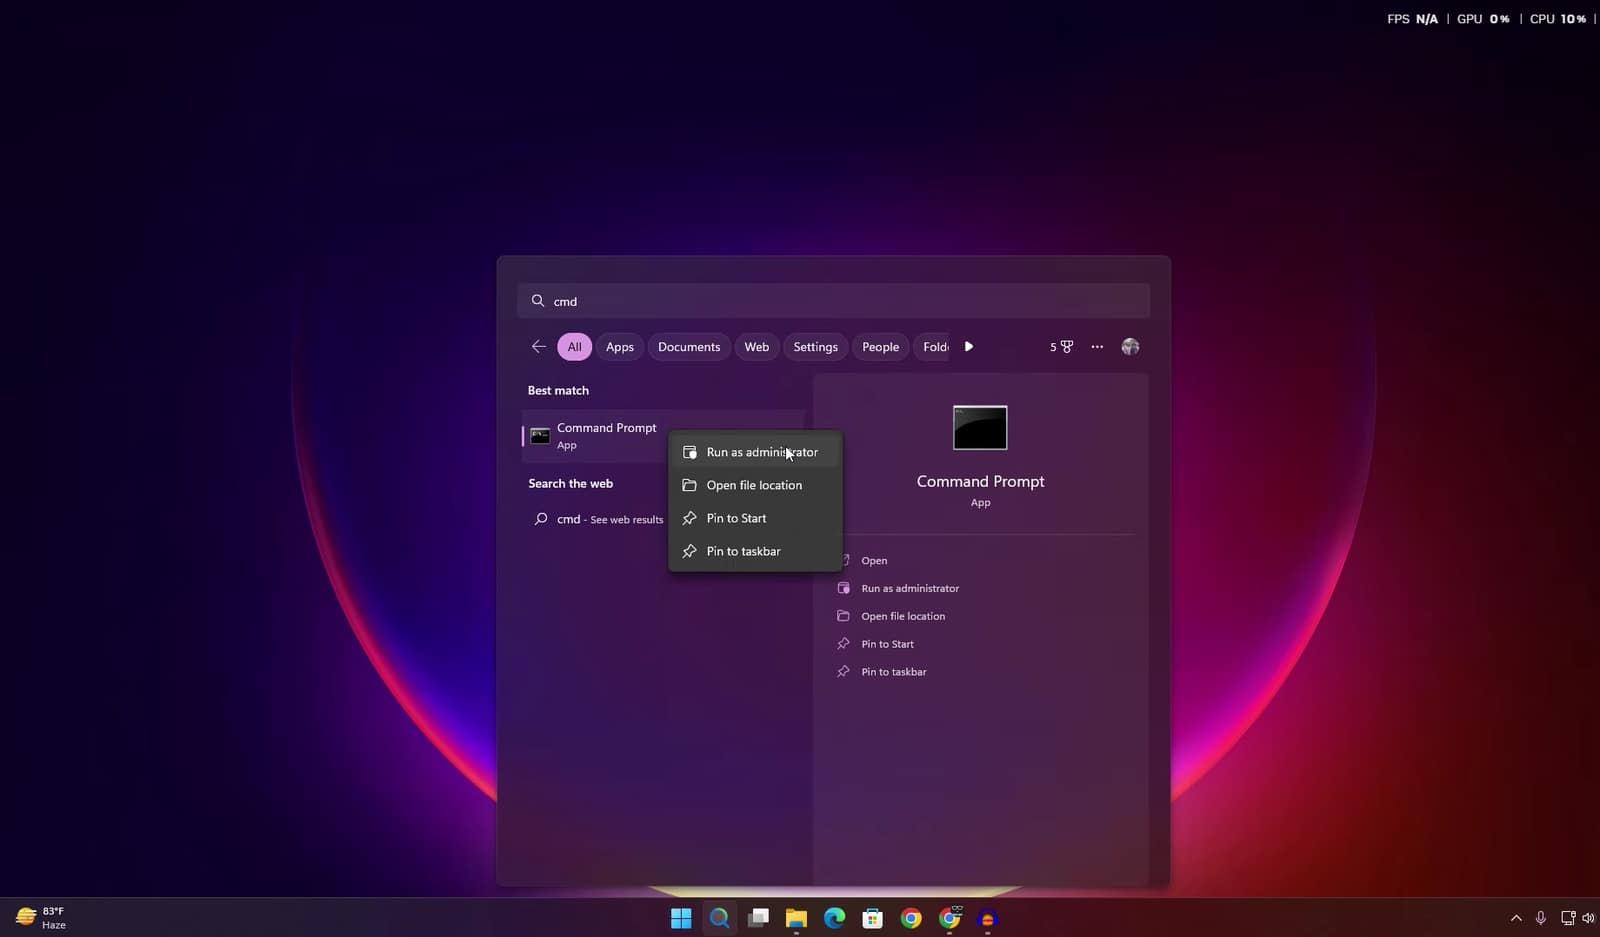
Now enter:
net stop wuauservPress Enter and wait for Windows to confirm that the Windows Update service has stopped.
Then run:
net stop bitsThis stops the Background Intelligent Transfer Service (BITS), another Windows component used for background downloads.
Don’t skip this part.
The reason for stopping these services before cleaning the update cache is simple: Windows may otherwise still be using files you’re trying to remove.
Caption: Stop the Windows Update and BITS services before clearing their temporary data.

Clear the Software Distribution contents — not the folder itself
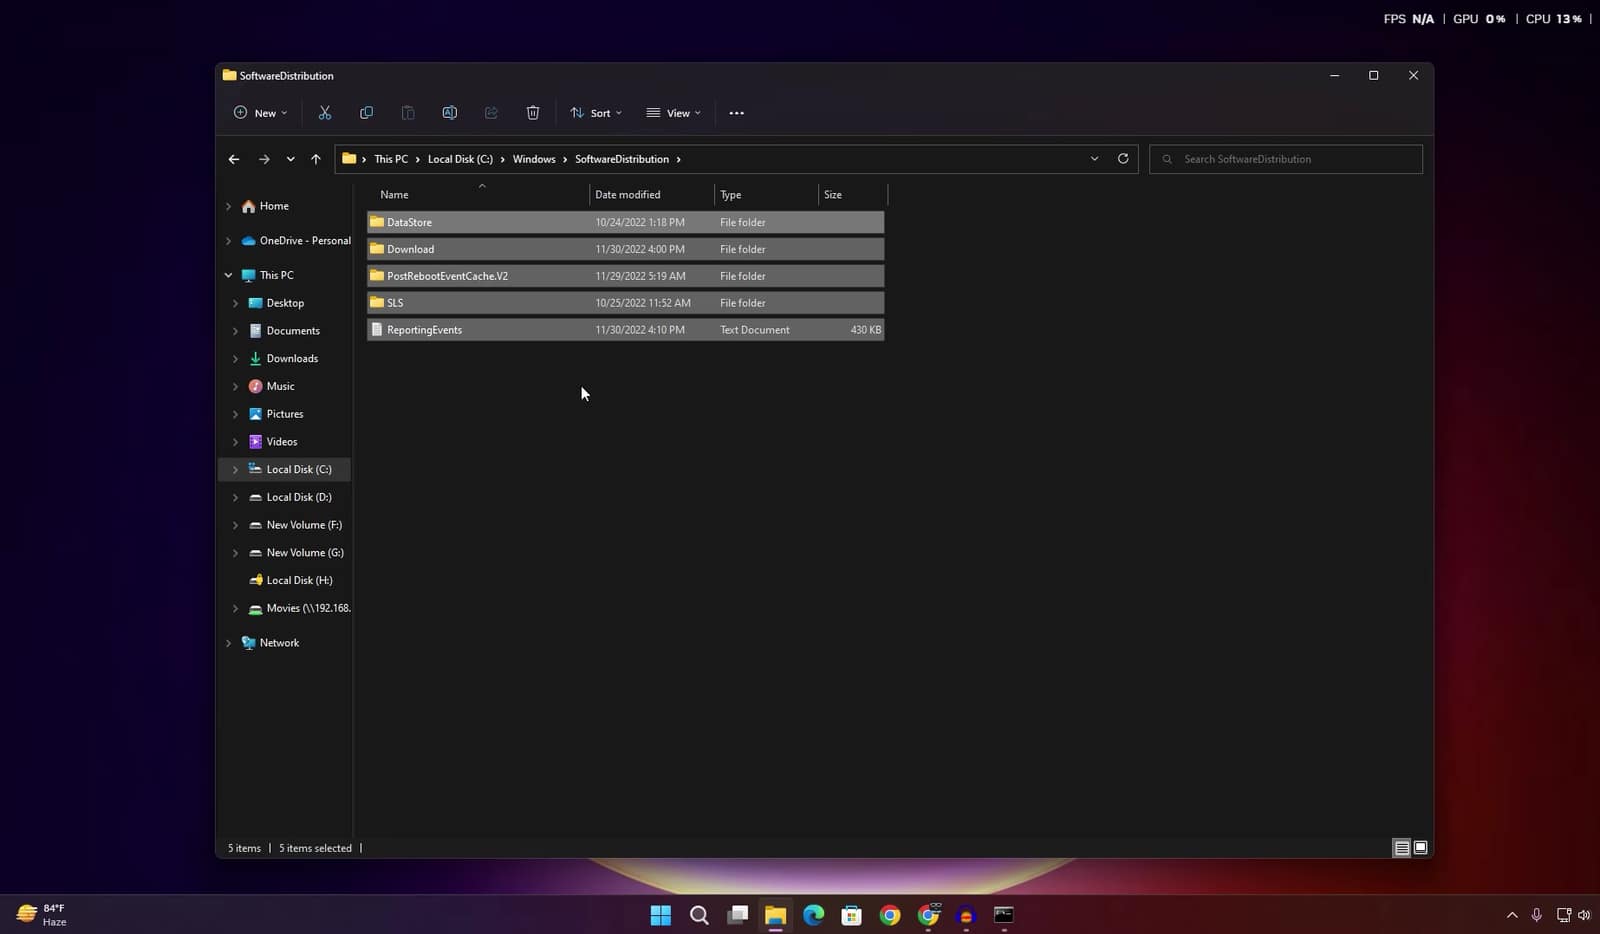
Now open File Explorer and navigate to:
C:\Windows\SoftwareDistributionYou’ll find files and subfolders used by Windows Update.
Select the contents inside SoftwareDistribution and delete them.
Do not delete the SoftwareDistribution folder itself.
If Windows reports that some files are still being used, don’t start forcing deletions blindly. Recheck that the relevant services were successfully stopped.
This is the part of the procedure most likely to make inexperienced users nervous because they’re deleting files inside C:\Windows.
The key distinction is that you’re clearing the contents of a Windows Update working directory, not manually deleting random system files.
Caption: Delete the contents of SoftwareDistribution while leaving the folder itself intact.

Restart the Windows Update services
After the cleanup, open Command Prompt as administrator again.

Run:
net start wuauservThen:

net start bits
Windows should report that the services have started successfully.
Once they’re running again, return to:
Settings → Windows Update
and select the option to retry or check for updates.
The update mechanism now has a fresh working cache to use rather than relying on potentially corrupted temporary download data.
Caption: Restart the Windows Update services after clearing the temporary update data.

Why the SoftwareDistribution cleanup can help
The important idea isn’t that the folder is “bad.”
Windows Update uses SoftwareDistribution as part of its normal update process. Problems can occur when the data associated with an update becomes inconsistent or corrupted.
Clearing its contents forces Windows Update to rebuild the relevant temporary data when it runs again.
That makes this a reset of the update cache, not a general Windows performance trick.
And that distinction matters. You shouldn’t routinely delete this folder whenever Windows feels slow or whenever an update takes a few minutes.
Don’t confuse 0% with a completely frozen update
There’s another practical point worth mentioning.
An update displaying 0% doesn’t necessarily mean that nothing is happening. Windows may be performing preparation work before visible download progress changes.
Before interrupting an update, give it some time and make sure the computer has a stable internet connection.
If it remains at 0% for an unusually long period and repeated attempts produce the same result, then the troubleshooting procedure becomes more justified.
What you need before starting
You’ll need:
- A Windows 11 PC
- Administrator privileges
- A stable internet connection
- Access to Command Prompt
- The ability to restart the computer
The administrator requirement is particularly important because the commands used to stop and start Windows services require elevated privileges.


